Hey, are you looking for info on MidJourney’s new zoom out feature? Then you’ll want this post!
Do you love the images you get from MidJourney, but find they’re just too close on the subject? A common query is how to get MidJourney to zoom out so you can see more of the image. There are a few ways you can do this.
Get MidJourney to Zoom Out
You’ll need to ensure that you let MidJourney know that you want to see the whole object or person. This can be done by giving details about the area around the subject or by using specific prompt words. Words like feet, full body, standing, etc. can help ensure the AI generator gives you more of the subject.
Getting Wider Shots on MidJourney
MidJourney has been trained on specific images, which means it defaults to those norms when not prompted otherwise. Not surprisingly, there were a lot of faces in the original training and MJ will happily show you faces all day long. However, when it comes to full-body shots, it can be harder to get the results you want.
This doesn’t just work with people, of course. You may find that animals are cut off or another image is only partially shown. However, people are usually the worst for this problem. Let’s look at a few ways we can solve the issue.
Change Your Aspect Ratio
Adjusting your aspect ratio gives MidJourney more room to work with and can help encourage it to fill the space with a full body. You can use –ar to prompt the aspect ratio. For a vertical option, I usually use –ar 2:3 for a full person, but –ar 3:2 if I want a more landscape look.
Use the Right Prompt Words
The prompt is everything in MidJourney and other AI art generators. By using certain prompt words, you can let MidJourney know you need more than just part of a subject. Here are some of the best phrases to use:
- standing on ______
- full body
- in front of a landscape depicting ______
- walking
- standing in front of _____
- zoomed out
- drone photo
- view from an airplane
- satellite photo
- wide angle
- small people/person
- (extreme) long shot
- wide-angle zoom lens
- high angle shot
- low angle shot
- wide shot
You can also combine these phrases in one prompt to get what you are looking for. Here are some examples:
First, here is a standard MidJourney prompt with no indication that the image should be a full person.
teen boy with blue eyes and brown hair with freckles on his nose
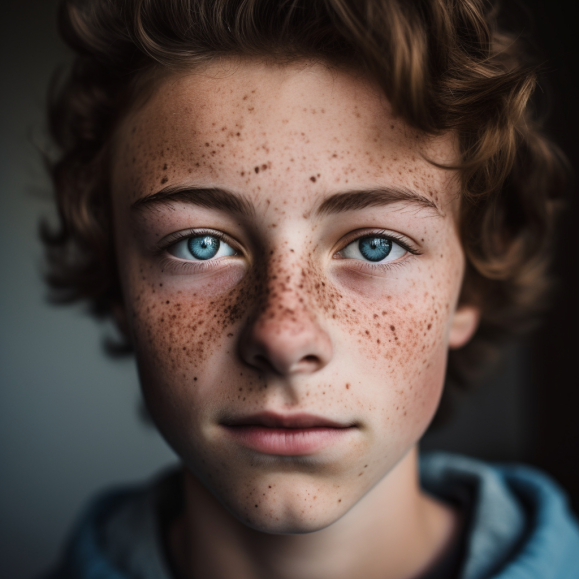
As expected, it’s just a face, which MidJourney tends to do quite well.
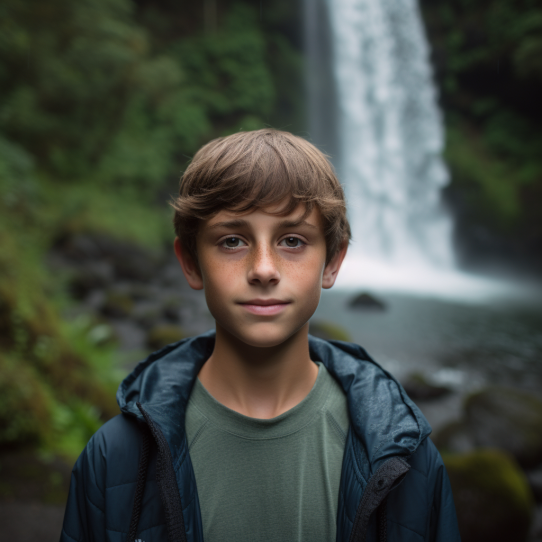
When I change the prompt to the following, we get a bit more perspective, but it’s still not giving us the entire shot.
teen boy with blue eyes and brown hair with freckles on his nose, standing on a stone in front of a waterfall
Now, let’s adjust the aspect ratio.
teen boy with blue eyes and brown hair with freckles on his nose, standing on a stone in front of a waterfall –ar 2:3

As you can see, we’re getting closer, but it’s still only half a body. So, what we’re going to do is give MidJourney a better idea of what we want by describing the boy’s shoes and what is on the ground around his feet. I have also removed the freckles part of the prompt, since that may be causing MidJourney to zoom in rather than out.
teen boy with blue eyes and brown hair, standing in front of a very tall waterfall, the boy wears sneakers and there are dead leaves by his feet –ar 2:3
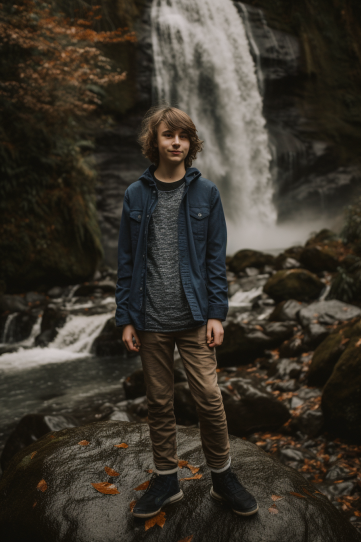
As you can see, this got the result we wanted. We have the boy’s entire body in the frame and effectively, we’ve made MidJourney zoom out.
What can you learn from this experiment? Sometimes it takes more than one try to get the desired results. It’s also important to describe the background and what is happening near someone’s feet if you want to see the entire body.
Here is another example of describing feet. Notice that MidJourney had the boy sit so he would fit in the standard 1:1 box, rather than offering more space around him.
teen boy with blue eyes and brown hair with freckles on his nose, wearing a red shirt, blue jeans, and red converse shoes

Order of Your Description
Another option is to give the background details first. MidJourney seems to realize that this means that section is more important. Weighting is another way to go, but I honestly don’t think that’s a big deal these days. Not with the recent MidJourney update and it seems to recognize importance based on the order of your words.
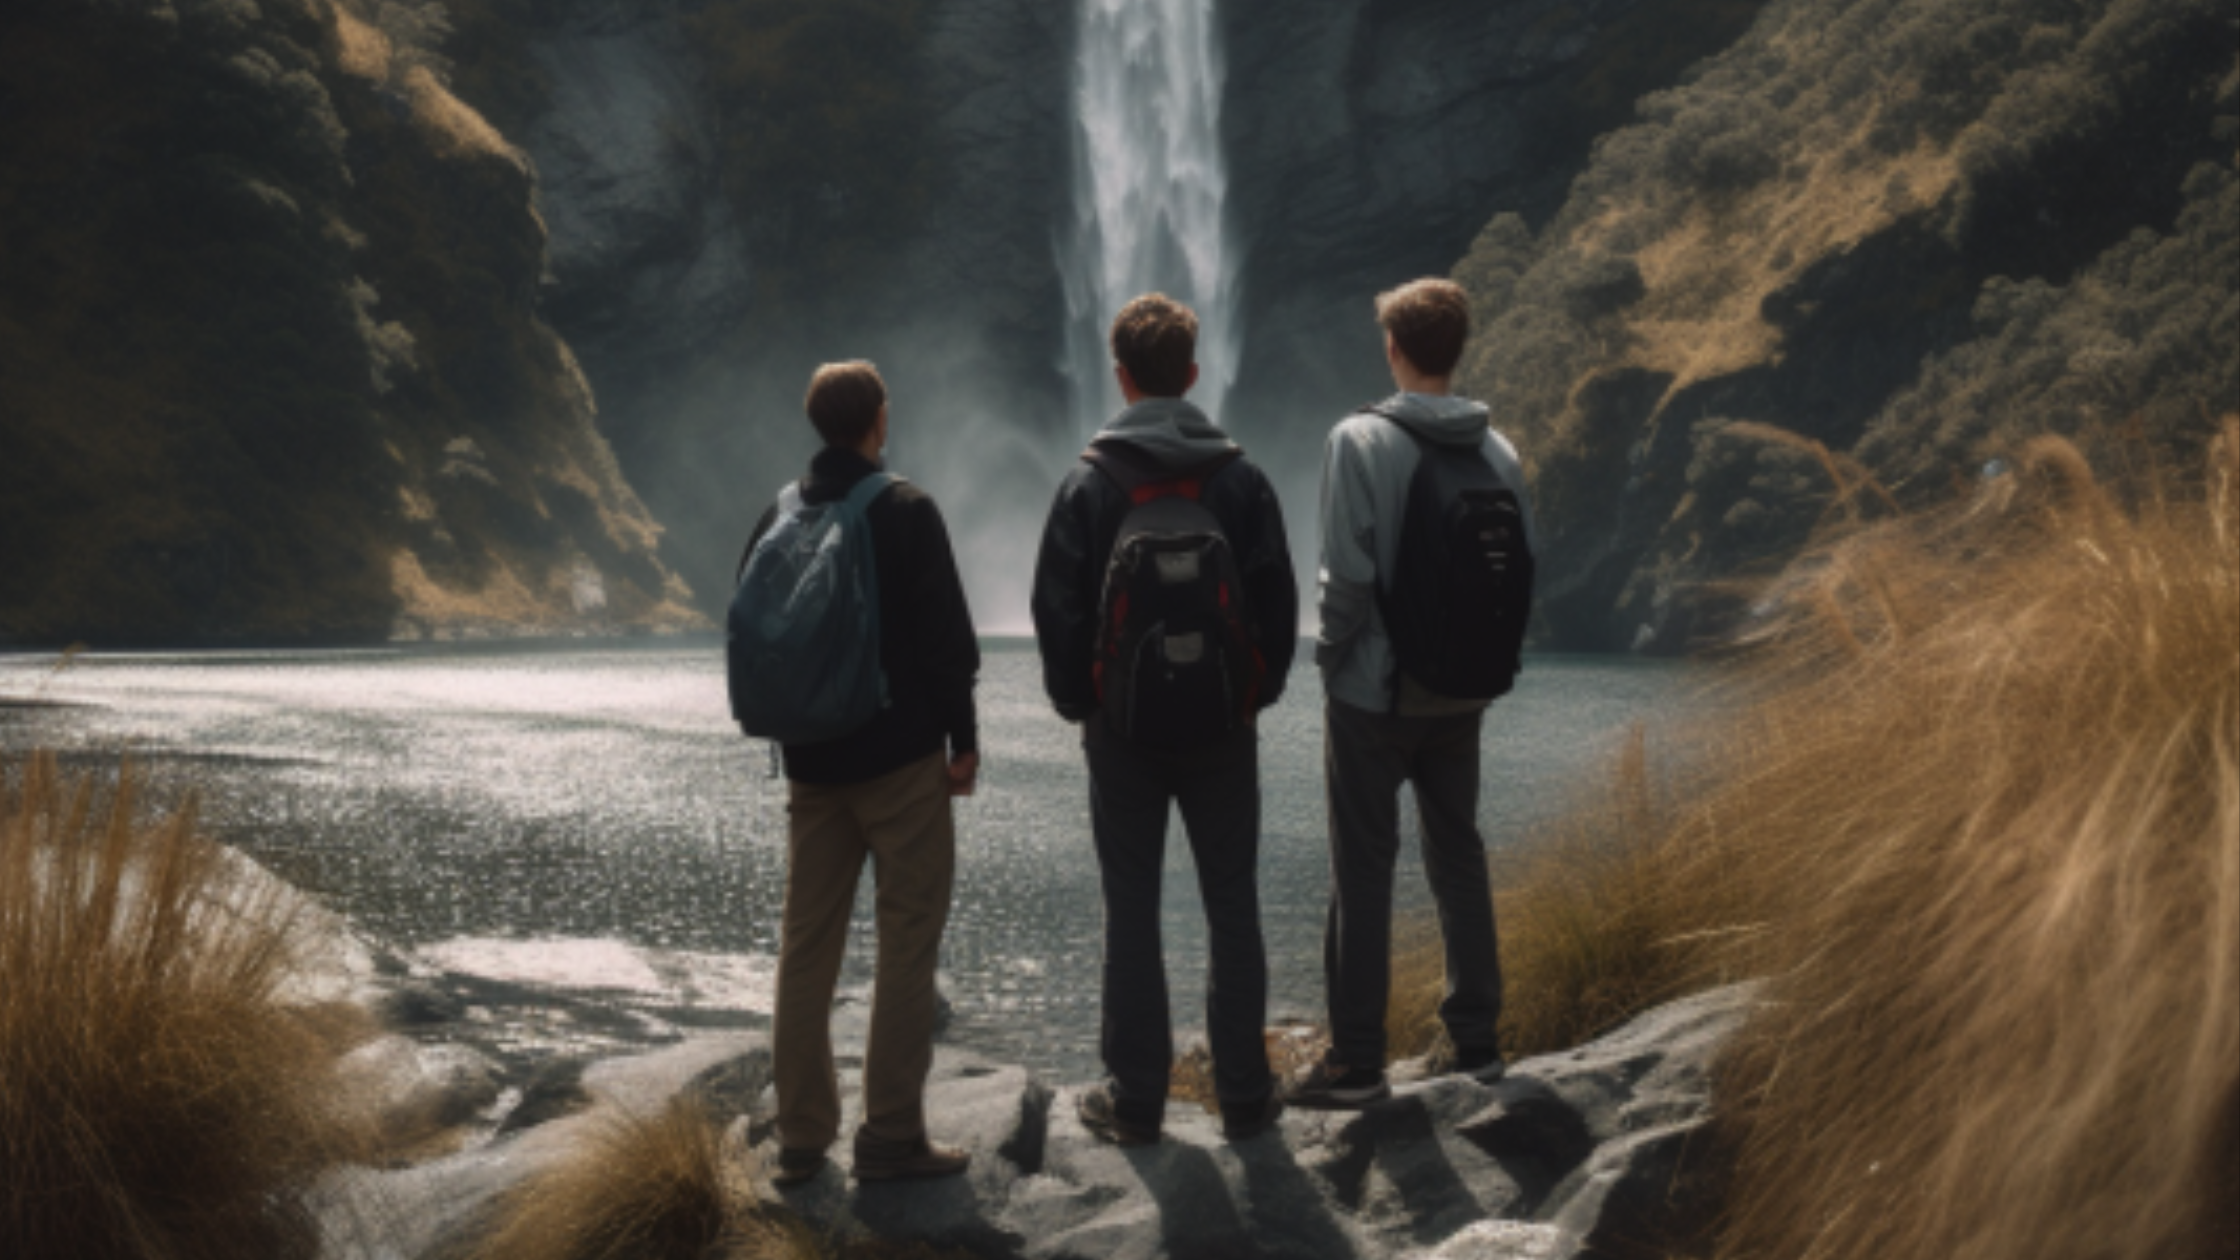
Here’s an example, where adding people and describing the landscape first made MidJourney realize that the people should be smaller.
An impressive mountain landscape with a waterfall and lake in the distance, three teenage boys stand and look at the scenery
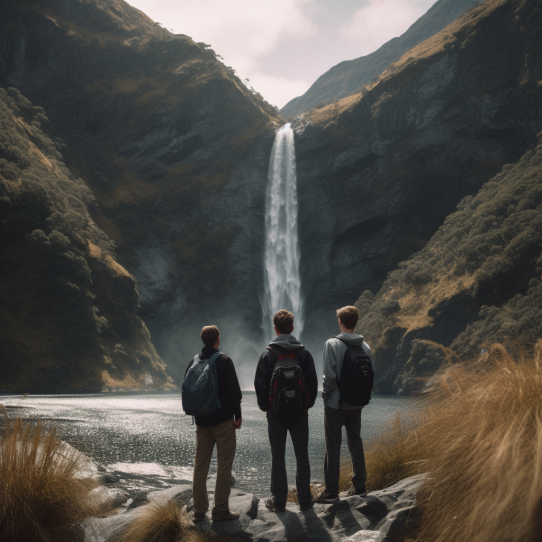
This image is far more zoomed out than the previous ones, because we’ve focused more on the background. MidJourney noticed that I described the scenery first.
Make Your Own Zoomed Out MidJourney Prompts
It is possible to get MidJourney to zoom out in images, but it takes practice and some careful prompting to get it to do what you want. Using the words and phrases, as well as the description style will help you turn MidJourney into something even more powerful than it already is.
Have you found a good way to zoom out in MidJourney that I haven’t mentioned here? Feel free to let me know in the comments below.